
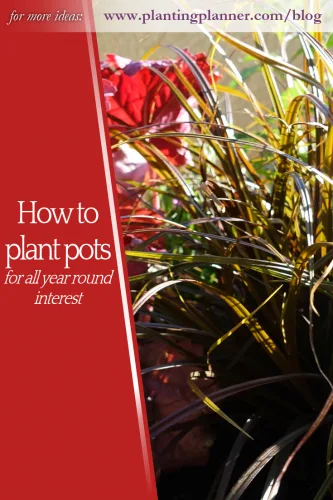
from The Weatherstaff PlantingPlanner – intelligent garden design software
Window boxes, spilling over with summer colour, or containers lit up with seasonal bulbs – you can ring the changes by moving into the limelight pots of just-ready-to-bloom bulbs or plants at their peak of perfection.
Still, it’s good to have a collection of containers which look good all year round in the garden. If you don’t have the time – or money – to keep updating displays, or if you just want some good do-ers to form a reliable backdrop to those flowering divas, then an all-season pot is the one to go for… And with a bit of thought and preparation, it’s not difficult to choose plants which will provide long-lasting interest in the garden.
Step 1 Choose your container
If it’s going to be admired all year, it should have drainage holes and be frost proof. Terracotta pots are beautiful, but are prone to cracking in freezing temperatures. Look at the labels on the pots, but remember that even the best quality pot can break if the compost gets water-logged. Read more tips here on ways to protect your pots in winter.
Your container also needs to be large enough to fit in a collection of plants, which can take centre stage at different times of the year. Though I love eclectic groupings of pots of all shapes and sizes, the smaller ones are going to be more demanding in terms of watering, so it’s best to go for big if you can.
Step 2 Choose your plants
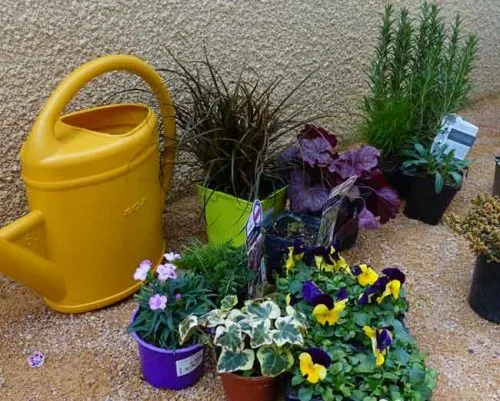
It’s tempting to choose the ones that are flowering beautifully when you go to the garden centre, but you need to resist this temptation. You want plants which are going to flower at different times of the year so plan ahead and stick to your list.
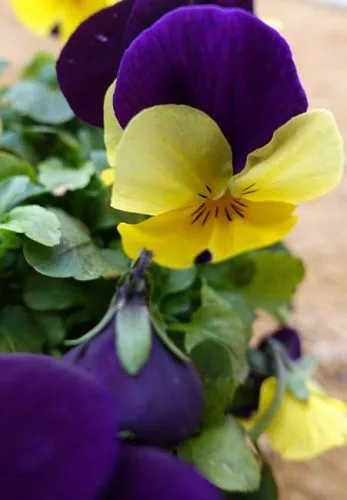
Having said that, I did throw in a tray of purple and yellow violas, so that I could squeeze them into any gaps and get flowers right from the start.
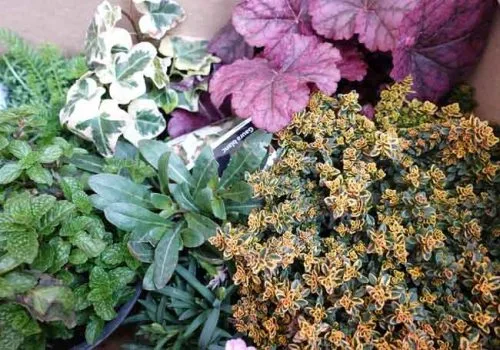
Choose plants with contrasting foliage and shapes. You will need at least one evergreen for winter interest. Make sure your plants can survive winter temperatures in your region if they are to stay outdoors all year.
If I’m buying from scratch, I like to arrange my potential purchases in groups, so that I can check if there is an interesting collection of form and colour.
You will want some with upright growth to balance the mounding types. Check the flowering times to make sure there will be something happening throughout the year. Add a couple of groundcover type plants to mingle and drip off the container edge, especially if they can provide evergreen leaves, like ivies, or are long-flowering.
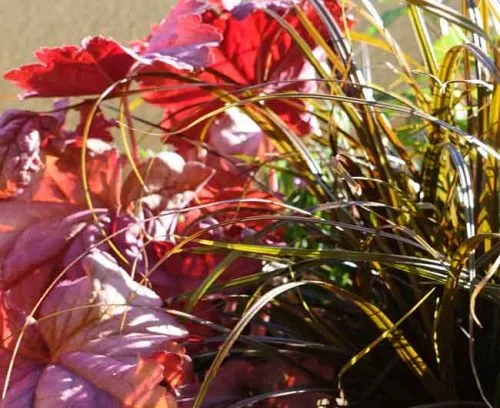
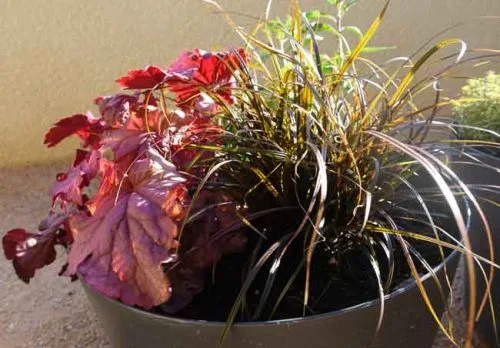
Rather than going for a multi-coloured, summer bedding effect, I like to restrict the colour palette. This purple heuchera looked dazzling next to the red-brown Uncinia rubra, so into the trolley it went.
Step 3 Prepare the container
Your plants will be spending a long time in the planter, so give them as good a head start as possible. Give them some water, then sit them to one side while you deal with the container.
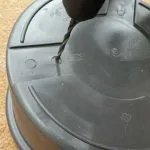
Drill drainage holes 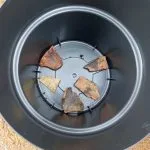
Cover holes with stones 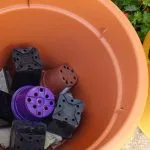
Recycle old pots 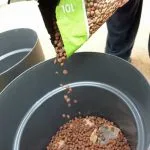
Add drainage material 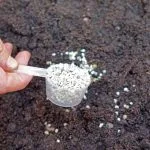
Add slow-release fertiliser
Drill holes if your pot doesn’t already have any. Before filling the container, cover the drainage holes with broken pots or small stones. Alternatively, use the small plastic flower pots which the plants came in. Turn them upside down over the holes. This has the added advantage of filling up some of the space in larger containers and reducing the amount of compost you need to use.
For better drainage, you can add a layer of drainage material, such as clay balls, at the bottom of the pot, and mix in perlite or organic matter throughout the pot. Use good quality compost and mix in some slow-release granular fertiliser.
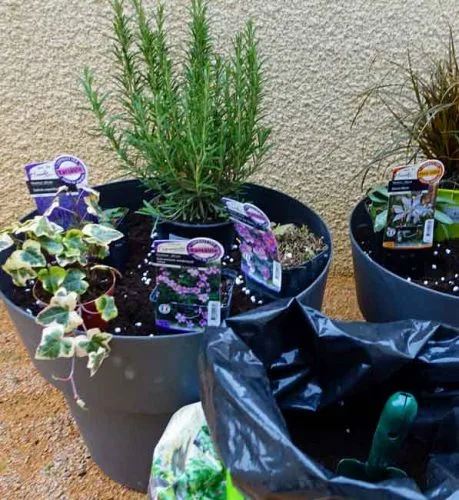
Step 4 Planting up the pots
Decide how to arrange your plants. I put the plants into the container, whilst still in their plastic flowerpots, and moved them around until I was happy with the arrangement.
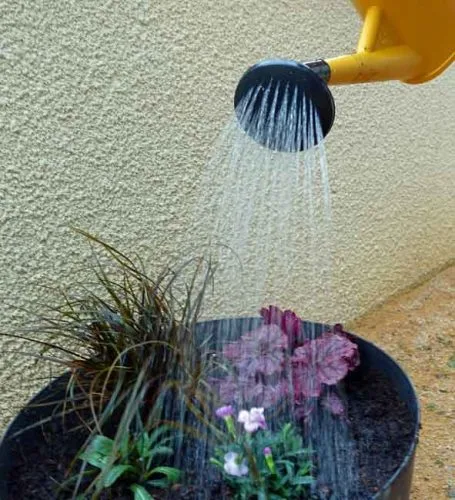
Tap each plant out of its pot and settle it into the container, adding more compost to ensure that the top of the rootball is a couple of centimetres below the container’s rim. This gives space for the planter to be watered easily, without all the water running off, together with excess soil. Firm in the rootball with more compost. Give everything a good watering-in.
Maintenance
- If you can keep your pots out of the full sun, they won’t dry out so quickly, reducing the need for too much watering.
- Continue to water when the soil is dry during mild periods in winter.
- If the temperature drops very low, drape some horticultural fleece or bubble wrap over the top of your container to provide some winter warmth.
- The restricted conditions in a container mean that some shrubs and larger perennials won’t grow as big as they might if given space in a garden bed. Nevertheless, they may outgrow the pot after a year or two. You could try digging up the plant, dividing the rootball and putting one part back in the pot. This has the advantage of reinvigorating the plant as well as providing you with new plants for future containers, garden borders or to give away.
Pin for later
For more gardening ideas, click here to follow the Weatherstaff PlantingPlanner on Pinterest.